


How to Stream on Twitch – For Beginners
We have prepared a blog post that will meet your needs, explaining how to stream on Twitch for beginners.. We hope it will be useful for you. Let’s start.
Create Account
First of all, you need to create an account on Twitch. This only takes 1 minute. You don’t need to pay any fees. Click the purple ‘Sign Up’ button in the upper right corner of the navigation panel on https://www.twitch.tv/. Then enter the basic information requested from you and hit “Sign Up”. That’s it . You have a twitch account now. You can sign up on Twitch mobile application.


You must enable Two Factor Authorization
An update now requires Twitch streamers to enable 2FA before they can start streaming.
You can install 2FA directly from your Twitch dashboard. Navigate to Settings > Security to set up 2FA.
Choose your Streaming Software
Streamlabs OBS – Our recommendation for beginner streamers is Streamlabs OBS (SLOBS). It is easy to install and practical. Comes in a visually pleasing package. It is compatible with Windows and Mac.
OBS Studio — Our recommendation for experienced broadcasters is OBS studio. More customization options are available than OBS studio. It is compatible with Windows and MAC.
Twitch Studio — In Beta version. Twitch’s own streaming software. We do not recommend it at the moment. but it may come in handy in the future.
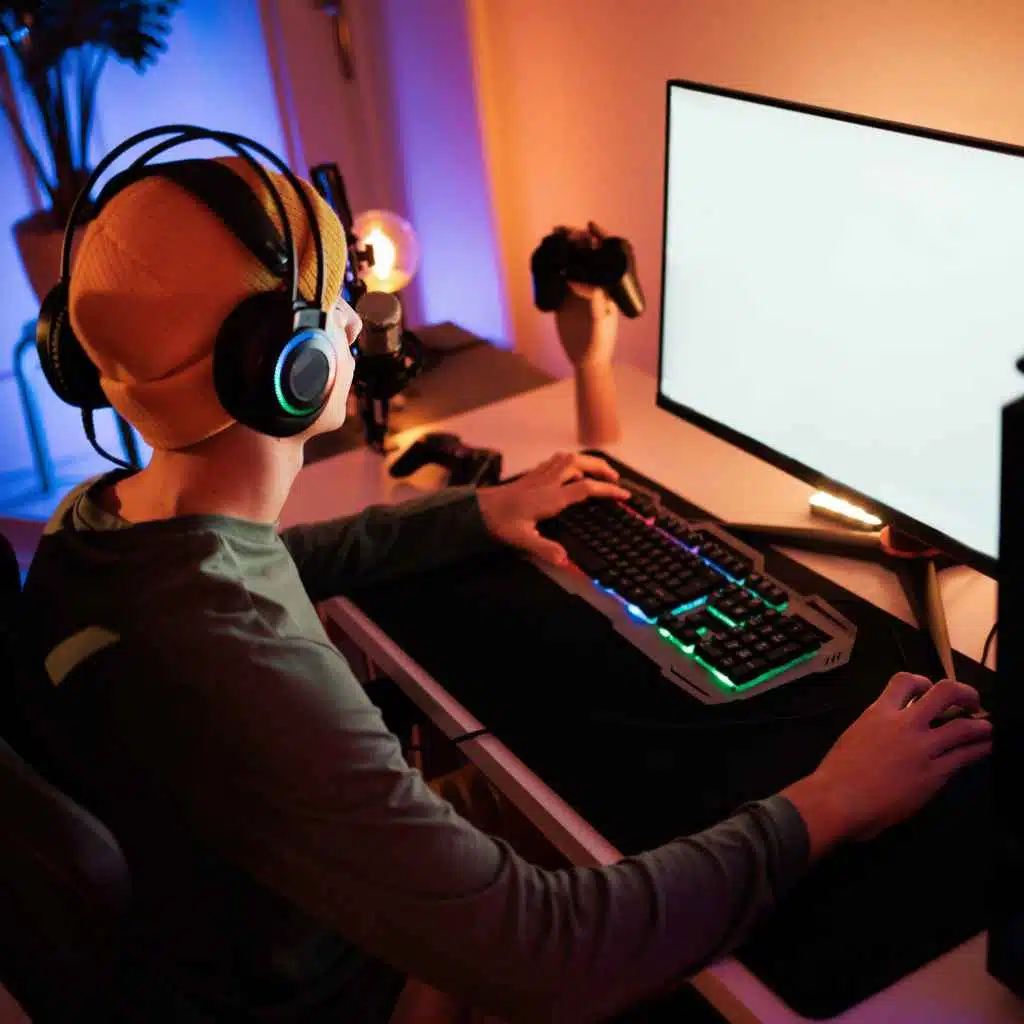
Equipment Selection
When choosing equipment, do not forget about the microphone, webcam and lighting equipment.
It is very difficult to stand out on Twitch and compete with big streamers. If you want to stand out from the majority, choose a good niche with a smaller community. Contrary to popular belief, the best niches are not the most popular games on Twitch. Because so many people play these games, it is very difficult to stand out from among them and rise to the top. Our recommendation is that you should focus on smaller games with small communities.
Set up your Streamlabs OBS
Navigate to Streamlabs.com and click on the big download button. Once installed, use your Twitch account details that you created earlier to log in. Your Twitch account will automatically be linked to Streamlabs OBS.
The next couple of prompts will request you to select your webcam and microphone. Choose and then choose theme.

Finally, you’ll be taken to the Streamlabs dashboard. In this dashboard, you can customize your stream setup.

Streamlabs OBS contains 3 important features which can be found at the bottom of the dashboard:
Scenes
Scenes are located at the bottom left of your OBS dashboard. Here you can add multiple scenes.For example, you can have a separate scene set up for when you’re chatting with your viewers and another scene for when you’re playing games.
Sources
Sources make up everything that shows up on stream. These can be used to add webcam, game capture and more.
Sources work in a hierarchical fashion meaning that whatever is up top, will be in the foreground.
Mixer
The mixer section allows you to control the volume levels of your stream. This is where you’ll go if your chat complains that your game is too loud, your voice is too quiet, etc.
Adding Sources
Adding webcam
You can add your webcam by adding a new source. Click on the + sign in the sources section of SLOBS and select ‘Video Capture Device’. Then, give it a name. Then, select your webcam and click on done. Your webcam will then be added to your stream. You can drag and drop it wherever you want.

Adding Alerts to Twitch
Under sources, add a new source ‘AlertBox’. Then, select the actions that you want to set up an alert for.
Set up your Stream Quality settings

 How to change your video settings
Navigate to Settings > Video inside your OBS software.

Your Output Resolution should be set to 1280×720 for 720p or 1280×1080 for 1080p. You should keep your FPS at 30.
How to change your bitrate
Navigate to Settings > Output in your OBS Software. Switch Output Mode to Advanced.
Set a bitrate of 2500 or more depending on your video settings and your upload speed.

You can increase the quality of your stream by arranging all these settings in the OBS software. But this quality will depend on your internet connection and of course especially the upload speed. You can find out your internet upload speed by using speedtest.net . You’ll need an upload speed of 3 Mbps minimum to comfortably stream on Twitch.

Plan out your Stream
We recommend that you schedule your stream and create an outline before streaming. All major streamers do this. We also recommend that you plan each stream ahead of time.
First Stream
To go live on Twitch, click on the green ‘go live’ button at the bottom right of your Streamlabs OBS dashboard.

Drive Traffic to your Twitch Stream
The best and most viewed streamers on Twitch come first and appear at the top. New and least viewed streamers are at the bottom of the page. That’s why it takes so long for the viewers to come to you naturally. You need to attract them to your channel. For this, you can stream it on other social media platforms before going live. For example, you can share story on Instagram and Facebook, you can notify your followers by tweeting on Twitter and get them to come to your stream.
Setup Donations for your Twitch Stream
Donations are the main way to make money on Twitch for smaller streamers. While you may not be able to accept bit donations before you become a Twitch Affiliate, you will be able to set up an external tip jar. Both Streamlabs and Streamelements offer their own version of a free tip jar.
Tips for Beginners
Don’t expect too many (or even no) viewers on your first few streams. You probably won’t see viewers on your first few streams, and that’s okay! Be patient. Don’t let your excitement dampen.
Do not allow silence. It would be good to have your friends on the air to avoid the silence. The bottom of Twitch is full of newbie streamers who NEVER talk on live. Silent streams are no fun. Viewers will leave as soon as they arrive. Create a streaming schedule and stick to it. Be Persistent. Don’t expect to be successful with a few streams. You’ll likely be streaming to single-digit viewers for a while. This is completely normal. Be persistent and patient. Background music is very important in broadcasting. It can add a lot of value to the stream. You are not allowed to play Twitch copyrighted music. If you play music that is not allowed, your account will be completely terminated by twitch. You should only play DMCA-Free music on stream. Please click to here for Twitch Viewer Plans.


